Auto Layout ㄧ直是 iOS 必學的技術之一,在 iOS 中你可以選擇使用 Storyboard 設置 Auto Layout,好處是非常直覺,而且多人使用時好懂,就算不大會 Swift / OC 都可以很容易做出想要的版面。最近公司面試需要出題,我也選擇了這個 Layout 題目。
為什麼喜歡用 Code Auto Layout?
對我而言,我比較喜歡 Code Auto Layout 表達,並且也可以常常運用 Code Auto Layout 技巧,產出比較複雜的畫面。這裡我不評斷哪個方式比較好,畢竟最合理還是應該依照專案屬性與工程師的熟悉程度來選擇。
今天要示範的畫面
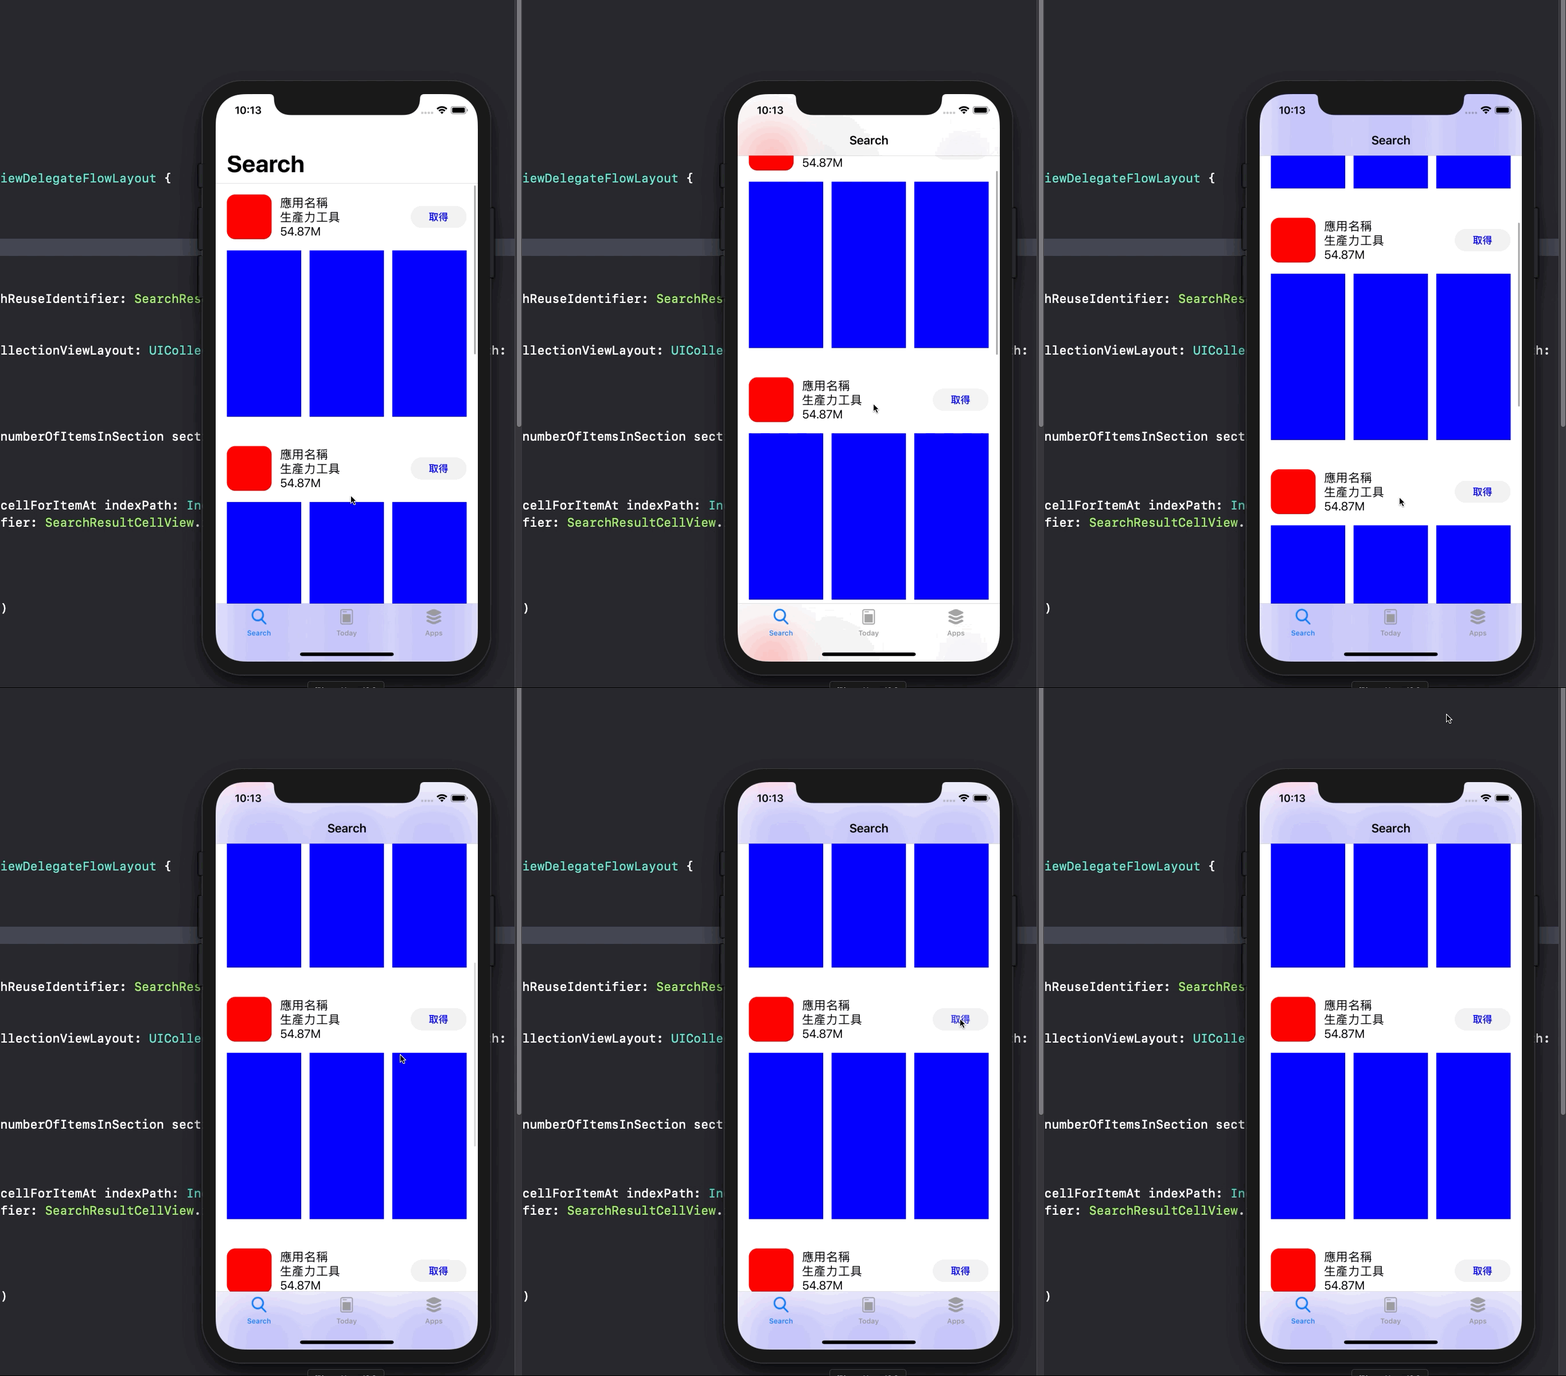
今天我們來簡單做一個 App Store 的 Auto Layout,描述一下思路及實現方式。最終畫面應該如下:
開啟新專案
首先我們開啟一個新專案,選擇使用 Swift 語言,完成後使用 CMD + R 編譯執行,應該可以看到一個空白畫面。
客製化 TabBarController

接著我們要實現 TabBarController,思路如下:
- 建立檔案
BaseTabBarController - 建立三個帶有
UINavigationController的UIViewController - 加入
TabBarController
建立檔案 BaseTabBarController
我們先建立一個名叫 BaseTabBarController 的檔案,並繼承 UITabBarController 實作:
class BaseTabBarController: UITabBarController {

    override func viewDidLoad() {
        super.viewDidLoad()
    }
}
現在你的 BaseTabBarController 應該像這樣。
建立三個帶有 UINavigationController 的 UIViewController
我們先試著建立一個:
override func viewDidLoad() {
        super.viewDidLoad()

        // 建立一個 ViewController
        let vc = UIViewController()

        // 建立一個 UINavigationController,並帶著上面的 UIViewController
        let navController = UINavigationController(rootViewController: vc)

        // 設置大標題
        navController.navigationBar.prefersLargeTitles = true

        // 設置標題
        vc.navigationItem.title = "搜索"

        // 設置 ViewController 背景白色
        vc.view.backgroundColor = .white

        // 設置 tabBarItem title
        navController.tabBarItem.title = "搜索"

        // 設置 tabBarItem image
        navController.tabBarItem.image = #imageLiteral(resourceName: "search"))

        // 與 TabBarController 連結
        viewControllers = [
            navController
        ]
    }
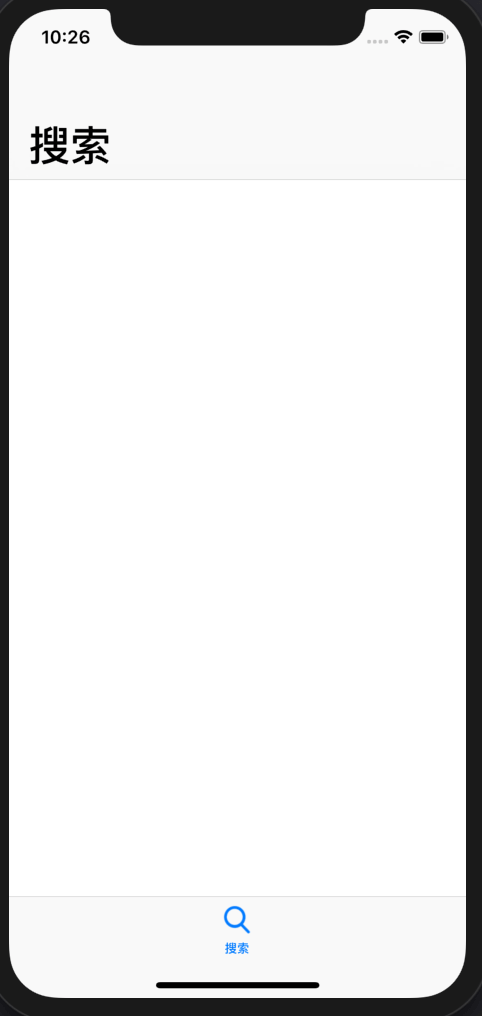
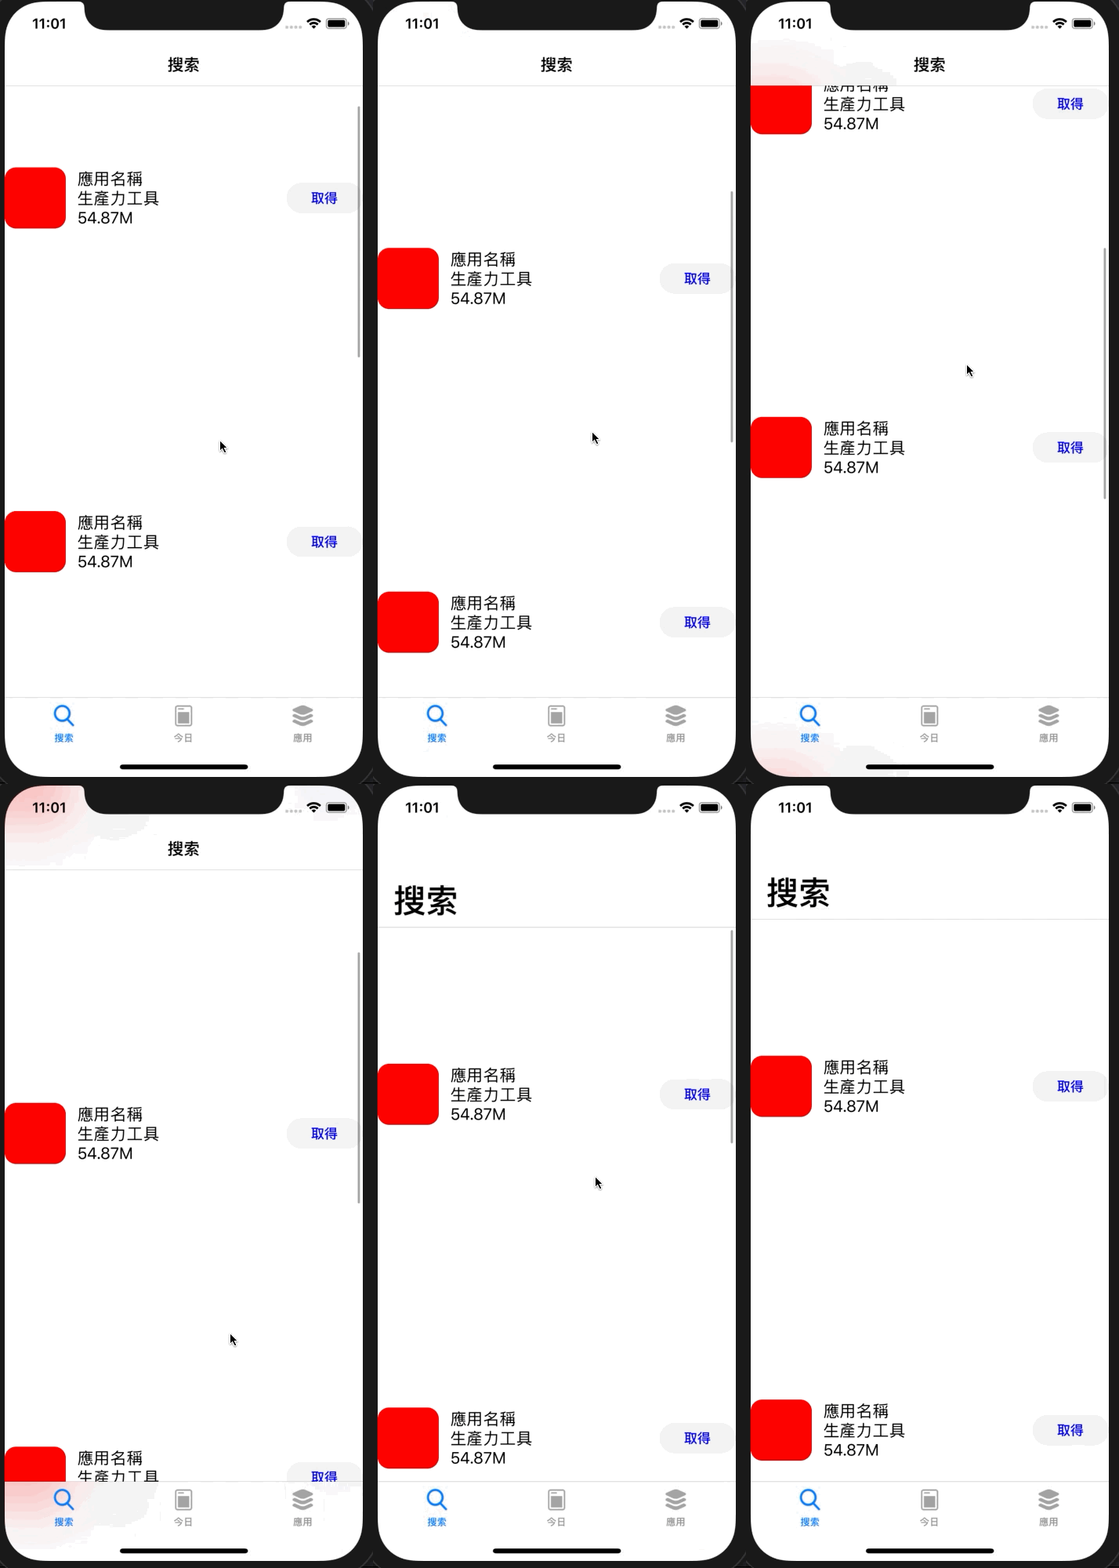
現在編譯且運行,你的畫面應該如下:
接下來,我們要建立三個這樣的東西。你可以選擇寫三次:
viewControllers = [
    navController1
    navController2
    navController3
]

//....
或者寫出一個方法來產生:
fileprivate func createNavController(viewController: UIViewController, title: String, image: UIImage) -> UIViewController {
        let navController = UINavigationController(rootViewController: viewController)
        navController.navigationBar.prefersLargeTitles = true
        viewController.navigationItem.title = title
        viewController.view.backgroundColor = .white
        navController.tabBarItem.title = title
        navController.tabBarItem.image = image
        return navController

    }
並在 viewDidLoad 產生並綁定:
override func viewDidLoad() {
        super.viewDidLoad()

        viewControllers = [
            createNavController(viewController: UIViewController(), title: "搜索", image: #imageLiteral(resourceName: "search")),
            createNavController(viewController: UIViewController(), title: "今日", image: #imageLiteral(resourceName: "today_icon")),
            createNavController(viewController: UIViewController(), title: "應用", image: #imageLiteral(resourceName: "apps")),
        ]
    }
最後的 BaseTabBarController 應該如下:
import UIKit

class BaseTabBarController: UITabBarController {

    override func viewDidLoad() {
        super.viewDidLoad()

        viewControllers = [
            createNavController(viewController: UIViewController(), title: "搜索", image: #imageLiteral(resourceName: "search")),
            createNavController(viewController: UIViewController(), title: "今日", image: #imageLiteral(resourceName: "today_icon")),
            createNavController(viewController: UIViewController(), title: "應用", image: #imageLiteral(resourceName: "apps")),
        ]
    }

    fileprivate func createNavController(viewController: UIViewController, title: String, image: UIImage) -> UIViewController {
        let navController = UINavigationController(rootViewController: viewController)
        navController.navigationBar.prefersLargeTitles = true
        viewController.navigationItem.title = title
        viewController.view.backgroundColor = .white
        navController.tabBarItem.title = title
        navController.tabBarItem.image = image
        return navController

    }
}
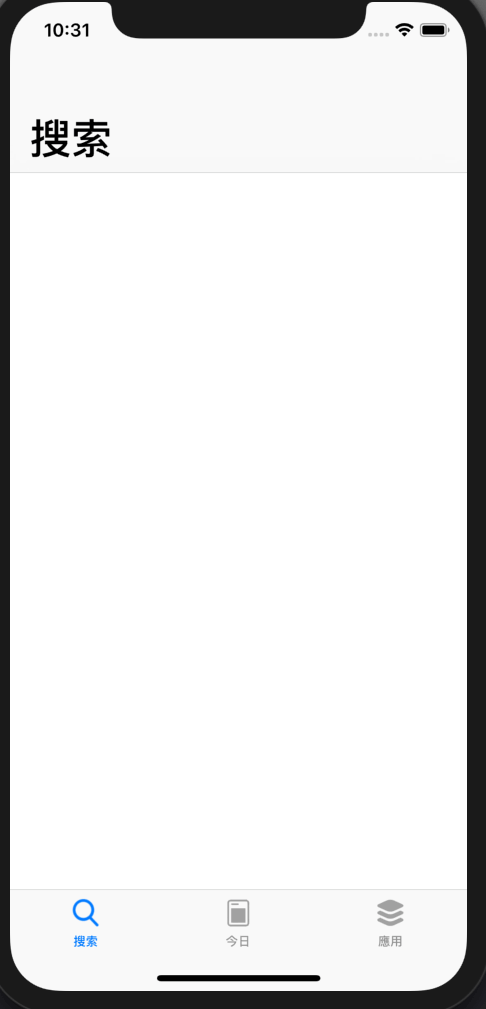
現在,再次運行吧!你應該可以看到以下畫面:
實作 AppsSearchController
創建檔案 AppsSearchController,並且繼承 UICollectionViewController, UICollectionViewDelegateFlowLayout。
接著,我們做一些初始化:
class AppsSearchController: UICollectionViewController, UICollectionViewDelegateFlowLayout {

    override func viewDidLoad() {
        super.viewDidLoad()
    }

    init() {
        super.init(collectionViewLayout: UICollectionViewFlowLayout())
    }

    required init?(coder aDecoder: NSCoder) {
        fatalError("init(coder:) has not been implemented")
    }

}
讓 CollectionView 產生 Cell View:
import UIKit

class AppsSearchController: UICollectionViewController, UICollectionViewDelegateFlowLayout {

    override func viewDidLoad() {
        super.viewDidLoad()

        // 設置 collectionView 白色背景
        collectionView.backgroundColor = .white

        // 註冊 collectionView cell
        collectionView.register(UICollectionViewCell.self, forCellWithReuseIdentifier: "cellId")
    }

    func collectionView(_ collectionView: UICollectionView, layout collectionViewLayout: UICollectionViewLayout, sizeForItemAt indexPath: IndexPath) -> CGSize {

        // 設置 cell 長寬,寬=整個螢幕寬,高=350
        return .init(width: view.frame.width, height: 350)
    }

    override func collectionView(_ collectionView: UICollectionView, numberOfItemsInSection section: Int) -> Int {
        // 產生 5 個 cell
        return 5
    }

    override func collectionView(_ collectionView: UICollectionView, cellForItemAt indexPath: IndexPath) -> UICollectionViewCell {
        let cell = collectionView.dequeueReusableCell(withReuseIdentifier: "cellId", for: indexPath)
        // 對每個 cell 設置不同背景,讓我們分辨得出來
        cell.backgroundColor = .init(red: 155/255, green: 233/255, blue: 29/255, alpha: CGFloat(0.2 * Double(indexPath.item)))
        return cell
    }

    init() {
        super.init(collectionViewLayout: UICollectionViewFlowLayout())
    }

    required init?(coder aDecoder: NSCoder) {
        fatalError("init(coder:) has not been implemented")
    }

}
別忘了回到 BaseTabBarController 填入我們自定義的 AppsSearchController:
override func viewDidLoad() {
        super.viewDidLoad()

        viewControllers = [
            // 將 UIViewController() -> 置換成 AppsSearchController()
            createNavController(viewController: AppsSearchController(), title: "搜索", image: #imageLiteral(resourceName: "search")),
            createNavController(viewController: UIViewController(), title: "今日", image: #imageLiteral(resourceName: "today_icon")),
            createNavController(viewController: UIViewController(), title: "應用", image: #imageLiteral(resourceName: "apps")),
        ]
    }
現在,再次運行:
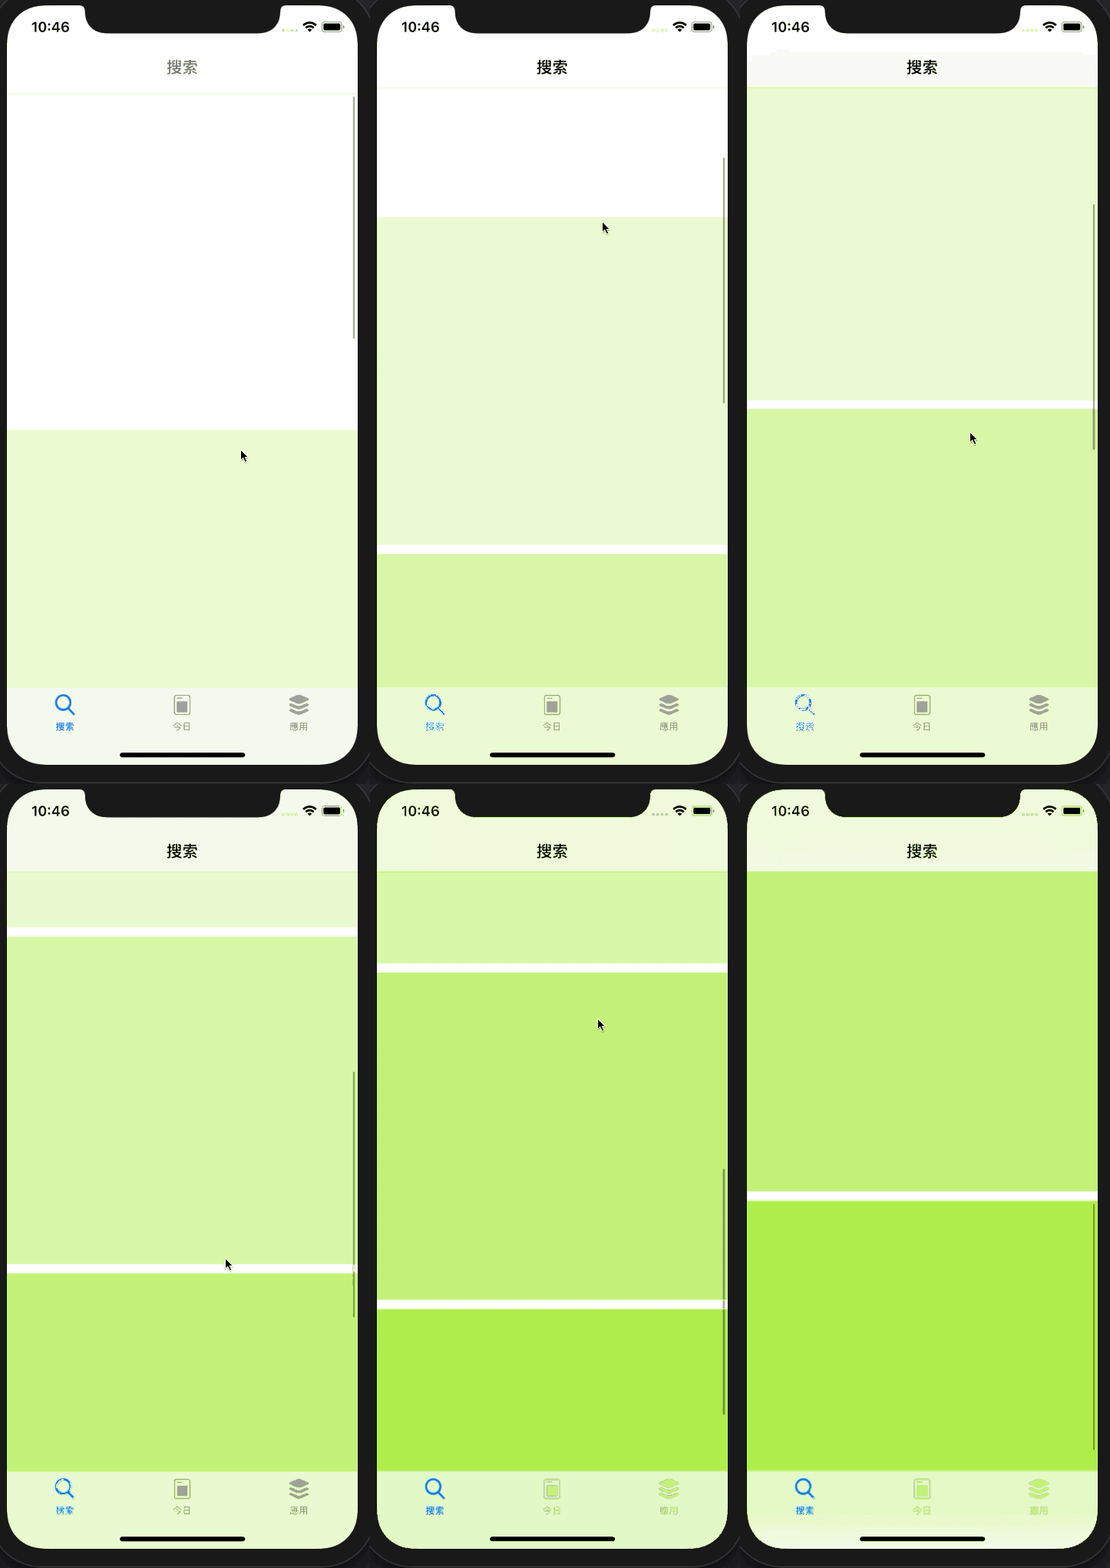
幹得好,出現了 5 個不同背景的 cell!
實作 SearchResultCellView 自定義 cell use code auto layout
創建檔案 SearchResultCellView,並繼承 UICollectionViewCell:
class SearchResultCellView: UICollectionViewCell {

}
加入自定義的 identifier:
class SearchResultCellView: UICollectionViewCell {
    static let identifier = "SearchResultCellId"

    override var reuseIdentifier: String? {
        return SearchResultCellView.identifier
    }
}
覆寫 init:
override init(frame: CGRect) {
        super.init(frame: frame)
}

required init?(coder aDecoder: NSCoder) {
        fatalError("init(coder:) has not been implemented")
}
別忘了回到 AppsSearchController 註冊我們的 Cell:
override func viewDidLoad() {
        super.viewDidLoad()

        collectionView.backgroundColor = .white

        collectionView.register(SearchResultCellView.self, forCellWithReuseIdentifier: SearchResultCellView.identifier)
    }
override func collectionView(_ collectionView: UICollectionView, cellForItemAt indexPath: IndexPath) -> UICollectionViewCell {
        let cell = collectionView.dequeueReusableCell(withReuseIdentifier: SearchResultCellView.identifier, for: indexPath)
        return cell
    }
建立元件:
    // 用於 appicon
    let appIconImageView: UIImageView = {
        let iv = UIImageView()
        iv.backgroundColor = .red

        // 約束寬度=64
        iv.widthAnchor.constraint(equalToConstant: 64).isActive = true
        // 約束高度=64
        iv.heightAnchor.constraint(equalToConstant: 64).isActive = true

        // 約束圓角=12
        iv.layer.cornerRadius = 12
        return iv
    }()

    // 用於應用名稱
    let nameLabel: UILabel = {
        let label = UILabel()
        label.text = "應用名稱"
        return label
    }()

    // 用於應用種類
    let categoryLabel: UILabel = {
        let label = UILabel()
        label.text = "生產力工具"
        return label
    }()

    // 用於應用大小
    let ratingsLabel: UILabel = {
        let label = UILabel()
        label.text = "54.87M"
        return label
    }()

    // 用於應用取得按鈕
    let getButton: UIButton = {
        let button = UIButton(type: .system)
        button.setTitle("取得", for: .normal)
        button.setTitleColor(.blue, for: .normal)
        button.titleLabel?.font = .boldSystemFont(ofSize: 14)
        button.backgroundColor = UIColor(white: 0.95, alpha: 1)

        // 約束寬度=80
        button.widthAnchor.constraint(equalToConstant: 80).isActive = true
        // 約束高度=32
        button.heightAnchor.constraint(equalToConstant: 32).isActive = true
        // 圓角=16
        button.layer.cornerRadius = 16
        return button
    }()
接著,我們在 init layout 這些元件。先建立垂直的標籤:

let vStackView = UIStackView(arrangedSubviews: [
            nameLabel, categoryLabel, ratingsLabel
    ])

vStackView.axis = .vertical
再建立水平方向的 View:

let infoTopStackView = UIStackView(arrangedSubviews: [
            appIconImageView,
            vStackView,
            getButton
            ])
        infoTopStackView.spacing = 12
        infoTopStackView.alignment = .center
使用 Auto Layout:
// 加入 Subview
addSubview(infoTopStackView)

// 設置 layout
        infoTopStackView.translatesAutoresizingMaskIntoConstraints = false

// infoTopStackView topAnchor,對齊 cell topAnchor,並啟動約束
        infoTopStackView.topAnchor.constraint(equalTo: topAnchor).isActive = true

// infoTopStackView leadingAnchor,對齊 cell leadingAnchor,並啟動約束
        infoTopStackView.leadingAnchor.constraint(equalTo: leadingAnchor).isActive = true

// infoTopStackView bottomAnchor,對齊 cell bottomAnchor,並啟動約束
        infoTopStackView.bottomAnchor.constraint(equalTo: bottomAnchor).isActive = true

// infoTopStackView trailingAnchor,對齊 cell trailingAnchor,並啟動約束
        infoTopStackView.trailingAnchor.constraint(equalTo: trailingAnchor).isActive = true
現在你應該可以看到以下畫面:
設置截圖區域
快速製作三個 ImageView:
lazy var screenshot1ImageView = self.createScreenshotImageView()
lazy var screenshot2ImageView = self.createScreenshotImageView()
lazy var screenshot3ImageView = self.createScreenshotImageView()

func createScreenshotImageView() -> UIImageView {
    let imageView = UIImageView()
    imageView.backgroundColor = .blue
    return imageView
}
建立截圖 StackView:
let screenshotsStackView = UIStackView(arrangedSubviews: [screenshot1ImageView, screenshot2ImageView, screenshot3ImageView])
    screenshotsStackView.spacing = 12
    screenshotsStackView.distribution = .fillEqually
疊加 infoTopStackView:
let overallStackView = UIStackView(arrangedSubviews: [
            infoTopStackView, screenshotsStackView])

overallStackView.axis = .vertical
overallStackView.spacing = 16
移除 infoTopStackView 的 layout,加入 overallStackView 的 layout:
addSubview(overallStackView)
        overallStackView.translatesAutoresizingMaskIntoConstraints = false
        overallStackView.topAnchor.constraint(equalTo: topAnchor).isActive = true
        overallStackView.leadingAnchor.constraint(equalTo: leadingAnchor).isActive = true
        overallStackView.bottomAnchor.constraint(equalTo: bottomAnchor).isActive = true
        overallStackView.trailingAnchor.constraint(equalTo: trailingAnchor).isActive = true
現在運行!
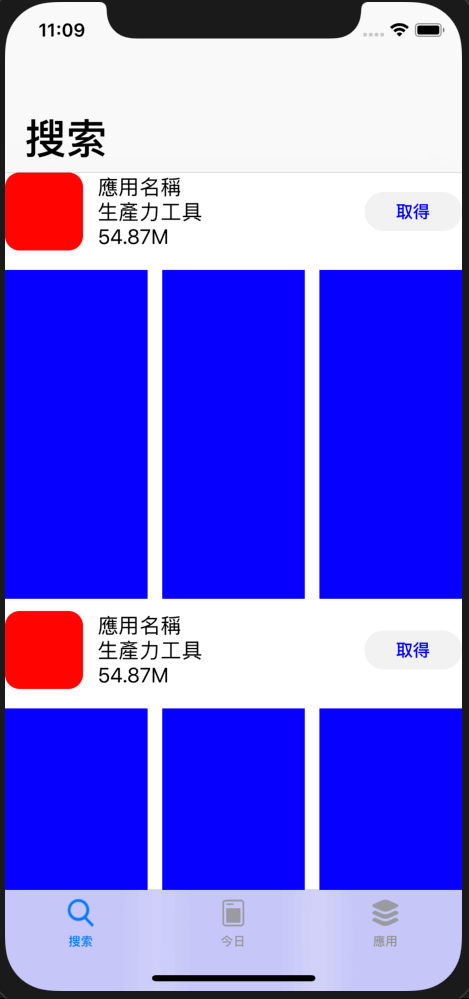
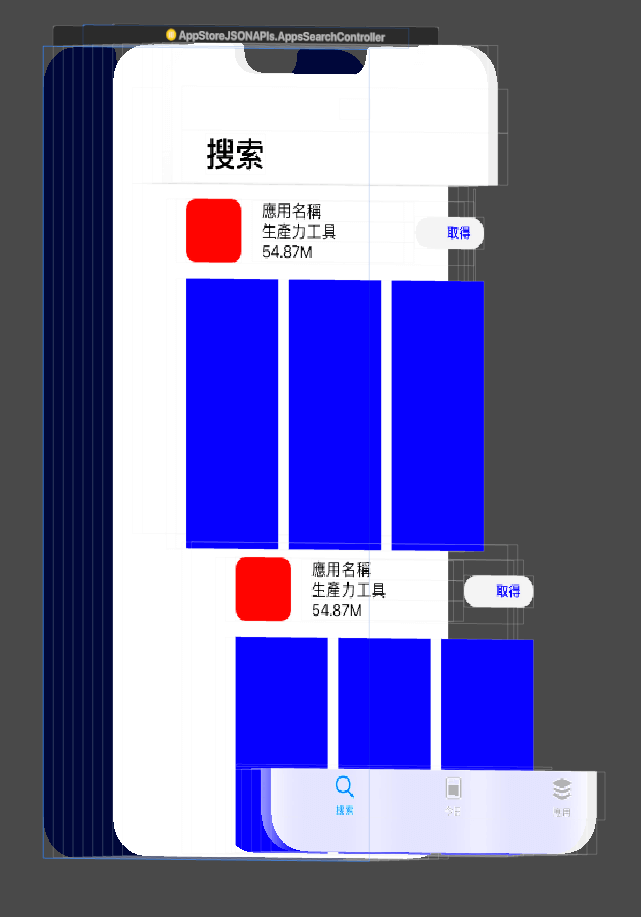
嗯!很不錯,但我們還是要設置一下邊界,修改一下 overallStackView 的 layout:
addSubview(overallStackView)
        overallStackView.translatesAutoresizingMaskIntoConstraints = false
        overallStackView.topAnchor.constraint(equalTo: topAnchor, constant: 16).isActive = true
        overallStackView.leadingAnchor.constraint(equalTo: leadingAnchor, constant: 16).isActive = true
        overallStackView.bottomAnchor.constraint(equalTo: bottomAnchor, constant: 16).isActive = true
        overallStackView.trailingAnchor.constraint(equalTo: trailingAnchor, constant: -16).isActive = true
constant: 16 代表我們修正了邊界,注意最後的 trailingAnchor 是 -16。
總結
至此,我們完成了 Code Auto Layout,當然, 這還只是入門,更多 Layout 的趣味等著你去發掘!
如果你需要範例輔助您,請點此專案。
感謝您的閱讀,祝你有個美好的 Coding。

