這是 WhatsApp 從 UITabBar 轉換到 UIToolBar 的過程:

本教學的實作結果:
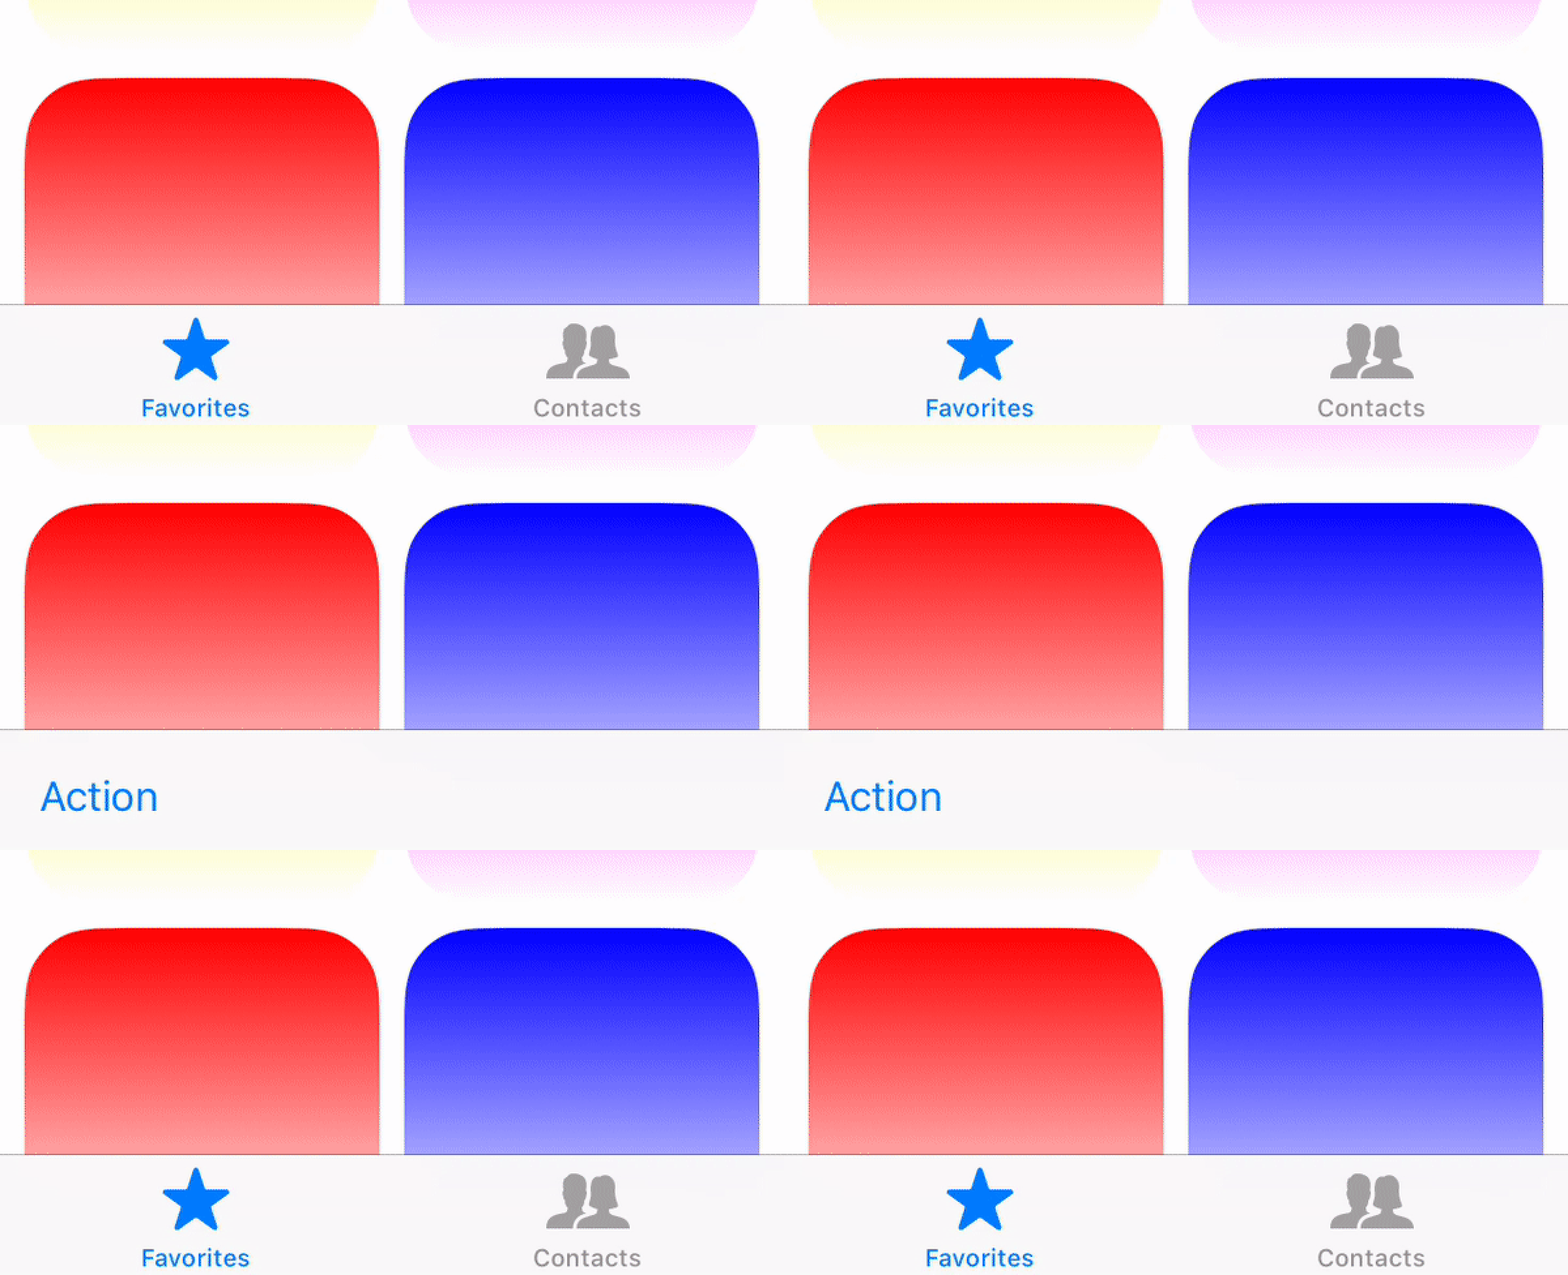
自從我開始開發 iOS apps 後,我就一直關注那些非常成功的 App 如何實作 UI 轉場 (UI transition) ,希望可以跟著實作在我的 App 內。
最近我正在做一個 App,它的 UICollectionView 嵌入在 UIViewController 內,而 UIViewController 又嵌入在 UICollectionViewController 內。而我希望可以將導覽欄 (tabBar) 藏在螢幕下方,進入編輯模式時,才讓它出現。
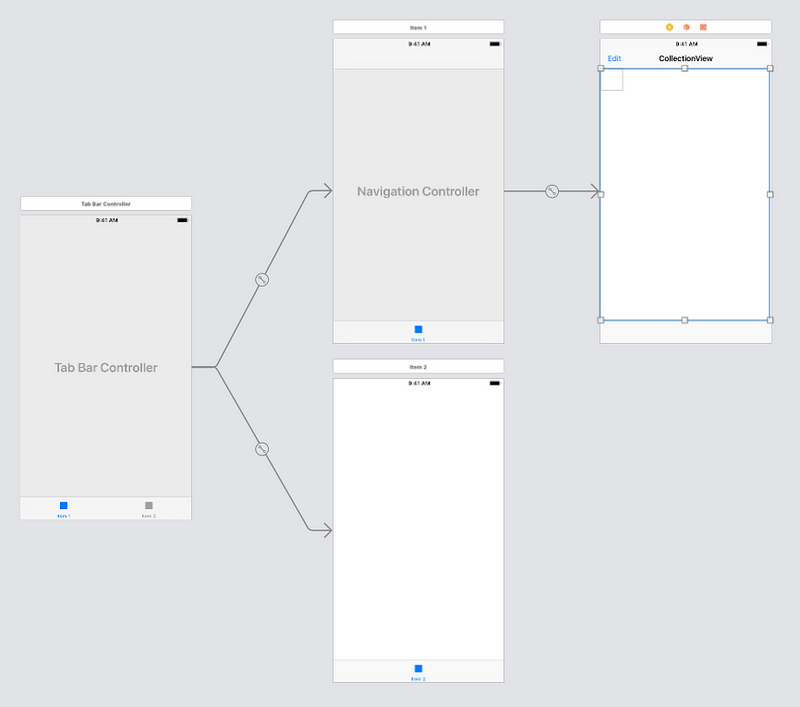
我最常用的 App 就是 WhatsApp,但之前都沒試過剖析它管理 UI 轉場的方法。我注意到在編輯模式下,它處理螢幕下方的 UIToolBar 做轉場與位置變化,非常符合我想要實現的內容。
在這篇文章,我將展示如何在 App 內實作這個功能,並且解釋我設計的方向。事實證明,要實作這功能並不簡單,我花了許多時間來理解它。最後,我不得不自己編寫這個範例程式碼,並做了很多測試。所以如果你想要開發這個功能的話,我希望這篇文章和範例程式碼可以為你省下許多時間。
分析
首先,我們應該了解 WhatsApp 如何處理這個功能的。以下是 WhatsApp 的轉場動作,我將它的速度放慢了 10% 來呈現:

如我觀察所得,WhatsApp 在來回轉換編輯模式時,把 UITabBar 淡出或淡入,同時把 UIToolBar 上移或下移。
所以我們的計劃就是要呈現上述這個動作。
規劃
首先,列出我們的需求:
- 我們要讓
UINavigationBar使用 iOS 11 的大標題 - 當
UIToolBar沒在使用時,我們需要隱藏它 - 我們要呈現一樣的
UITabBar動畫
開始吧!
這就是我完全搞砸了的地方。我以為要實作這項功能非常簡單,但結果卻和我想像的完全相反。
為什麼?
因為使用大標題預設的動畫和系統,就會搞砸所有你為 UIToolBar 編寫的簡單螢幕位置程式碼。
天真的做法
原本我先嘗試的方法,就是利用 UINavigationController 預設的 UIToolBar,並根據 App 是否在編輯模式的情況下改變它的位置。
然而,如我剛提到的,若你要使用大標題的話,這招就完全不管用了。
請來看一下在有大標題動畫需求下,UIToolBar 會這樣移動:
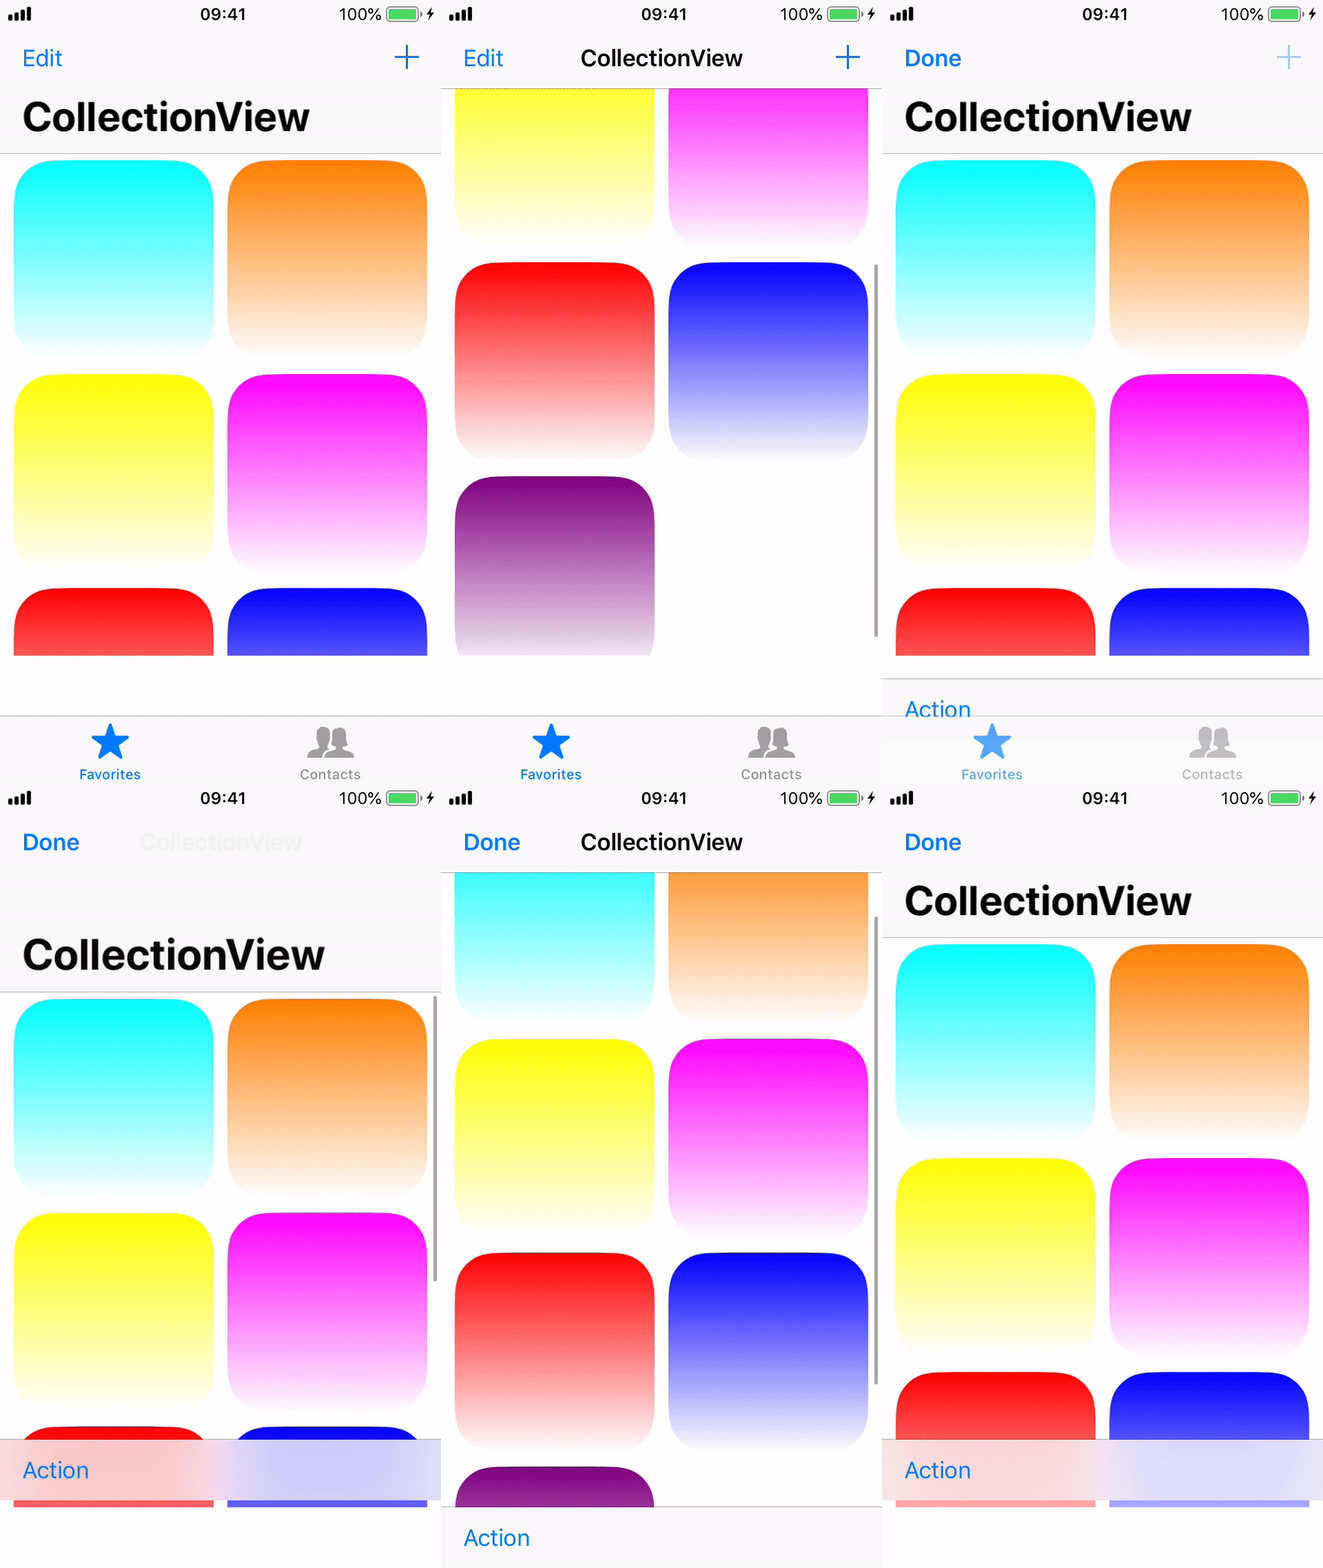
加上,我發現如果我希望 Collection View 覆蓋 UIToolBar 和 UITabBar 之間的整個空間,我就必須手動調整它的邊界屬性。
解決方案
為了要解決這個問題,我們不應使用 UINavigationController 物件預設的 UIToolBar,而是需要手動增加一個 UIToolBar 到我們的視圖控制器 (View controller) 中。
首先我們先簡單建立一個 UIToolBar:
private lazy var toolBar: UIToolbar = {
  return UIToolbar()
}()
然後在 viewDidLoad 設計它的邊界:
private var toolBarConstraints = [NSLayoutConstraint]()
...

override func viewDidLoad() {
  super.viewDidLoad()

  ...

  navBar.prefersLargeTitles = true

  navigationController!.isToolbarHidden = true

  view.addSubview(toolBar)
  toolBar.translatesAutoresizingMaskIntoConstraints = false
  toolBarConstraints.append(contentsOf: [
    toolBar.leftAnchor.constraint(equalTo: self.view.leftAnchor),
    toolBar.rightAnchor.constraint(equalTo: self.view.rightAnchor),
    toolBar.bottomAnchor.constraint(equalTo: self.view.bottomAnchor),
    toolBar.topAnchor.constraint(equalTo: tabBar.topAnchor)
    ])
}
然後,我們建立一些計算了屬性,以在整個示例視圖控制器中正確設置自定義 UIToolBar:
private var screenHeight: CGFloat {
  return UIScreen.main.bounds.height
}

private var toolBarYPos: CGFloat {
  if currentState == .normal {
    return screenHeight
  }
  // Ideally check for other states here, but since we only have two, keep it
  // simple; would do something like: else if currentState == .edit {
  else {
    return screenHeight - toolBar.frame.height
  }
}
最後,我們使用這些計算屬性來正確設置 UIToolBar 和/或 UITabBar 的位置。現在,當使用者點擊 “Edit” 或 “Done” 的按鈕時:
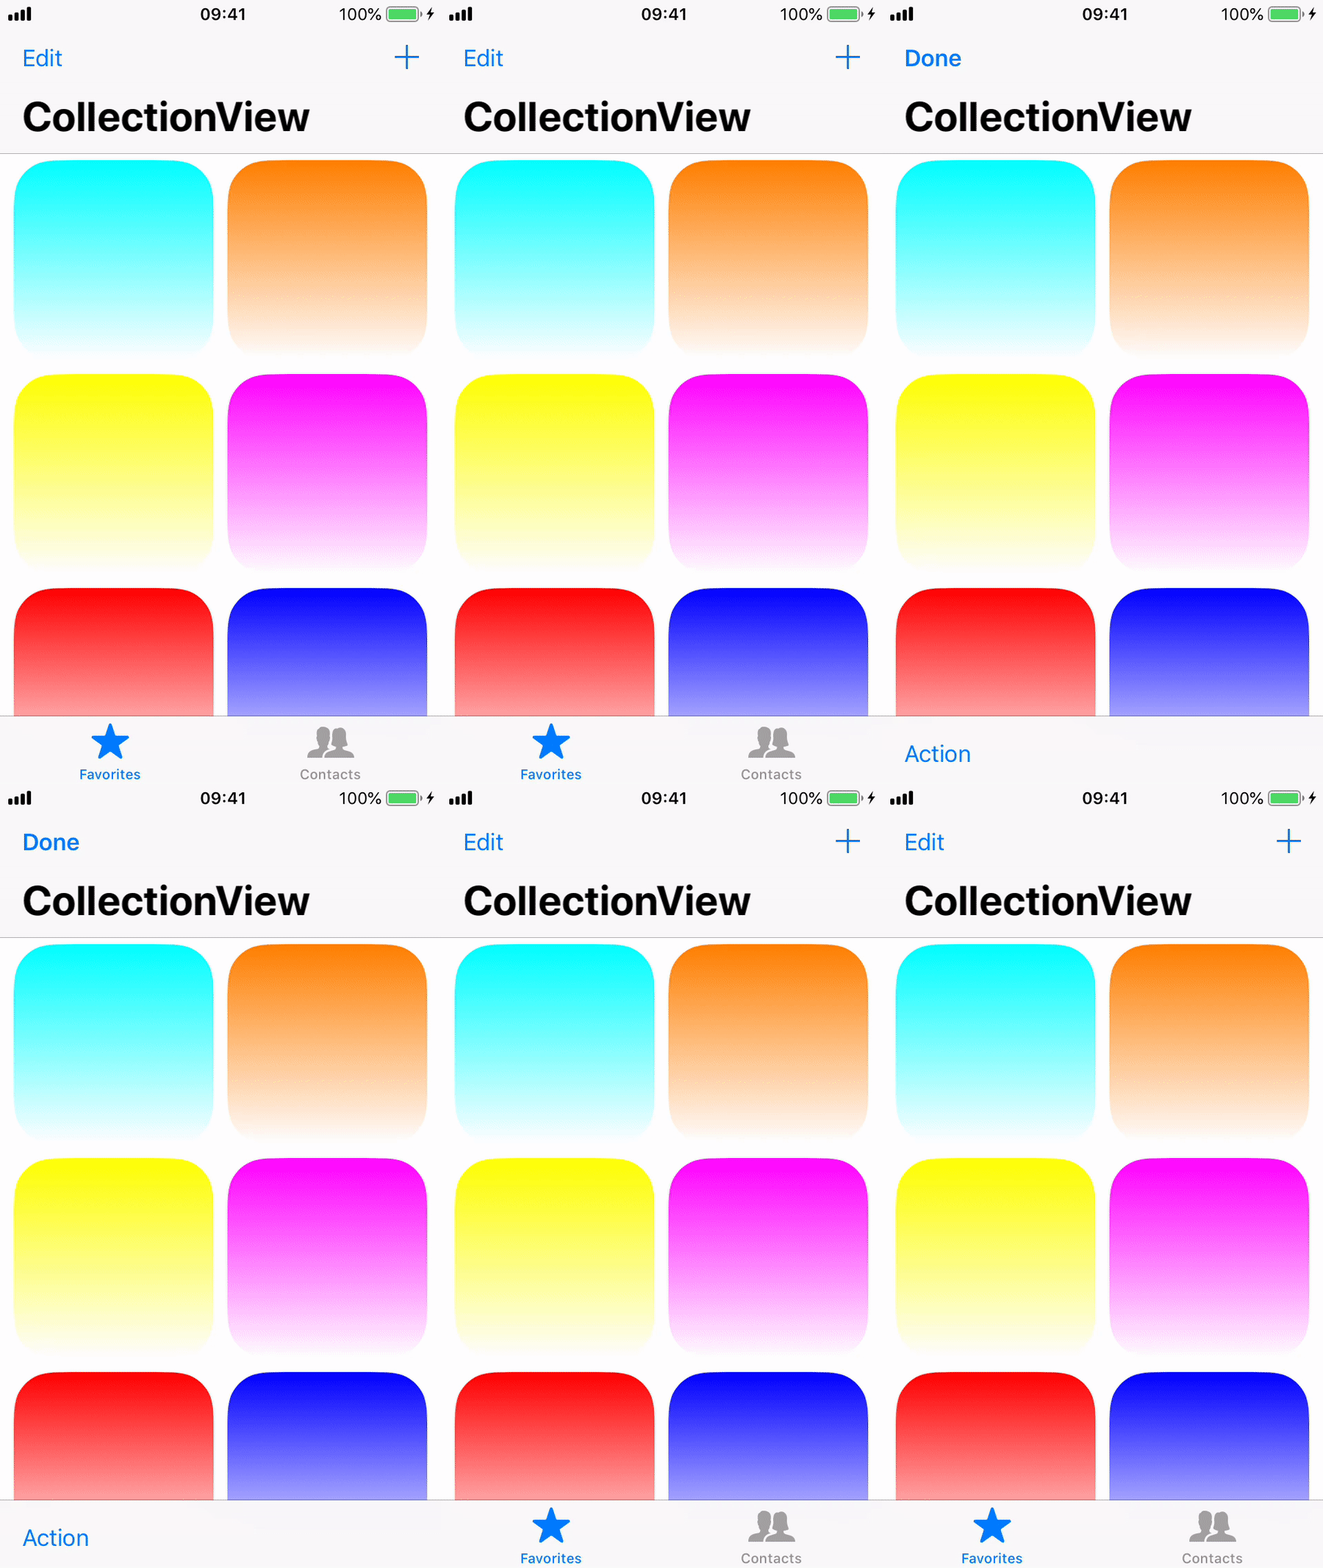
最後加入這段程式碼,就差不多完成了:
@IBAction func onEditBtnTouchUp(_ sender: Any) {
    // Switch to the editing mode
    if currentState == .normal {
      currentState = .edit

      fade(tabBar, toAlpha: 0, withDuration: 0.2, andHide: true)
      UIView.animate(withDuration: 0.2, animations: {
        // Set edit to done
        self.navigationItem.leftBarButtonItem = UIBarButtonItem(barButtonSystemItem: .done, target: self,
                                                                action: #selector(self.onDoneBtnTouchUp))
        // Fade away + btn
        self.plusBtn.isEnabled = false
        self.plusBtn.tintColor = UIColor.clear

        // Position the toolbar
        self.toolBar.frame.origin.y = self.toolBarYPos
      })
    }
  }

  @objc func onDoneBtnTouchUp(_ sender: Any) {
    // Switch to normal state
    if currentState == .edit {
      currentState = .normal

      fade(tabBar, toAlpha: 1, withDuration: 0.2, andHide: false)
      UIView.animate(withDuration: 0.2, animations: {
        // Set edit to done
        self.navigationItem.leftBarButtonItem = UIBarButtonItem(barButtonSystemItem: .edit, target: self,
                                                                action: #selector(self.onEditBtnTouchUp))

        // Fade in + btn
        self.plusBtn.isEnabled = true
        self.plusBtn.tintColor = nil

        // Position the toolbar
        self.toolBar.frame.origin.y = self.toolBarYPos
      })
    }
總結
實作完成的結果應該像這樣:
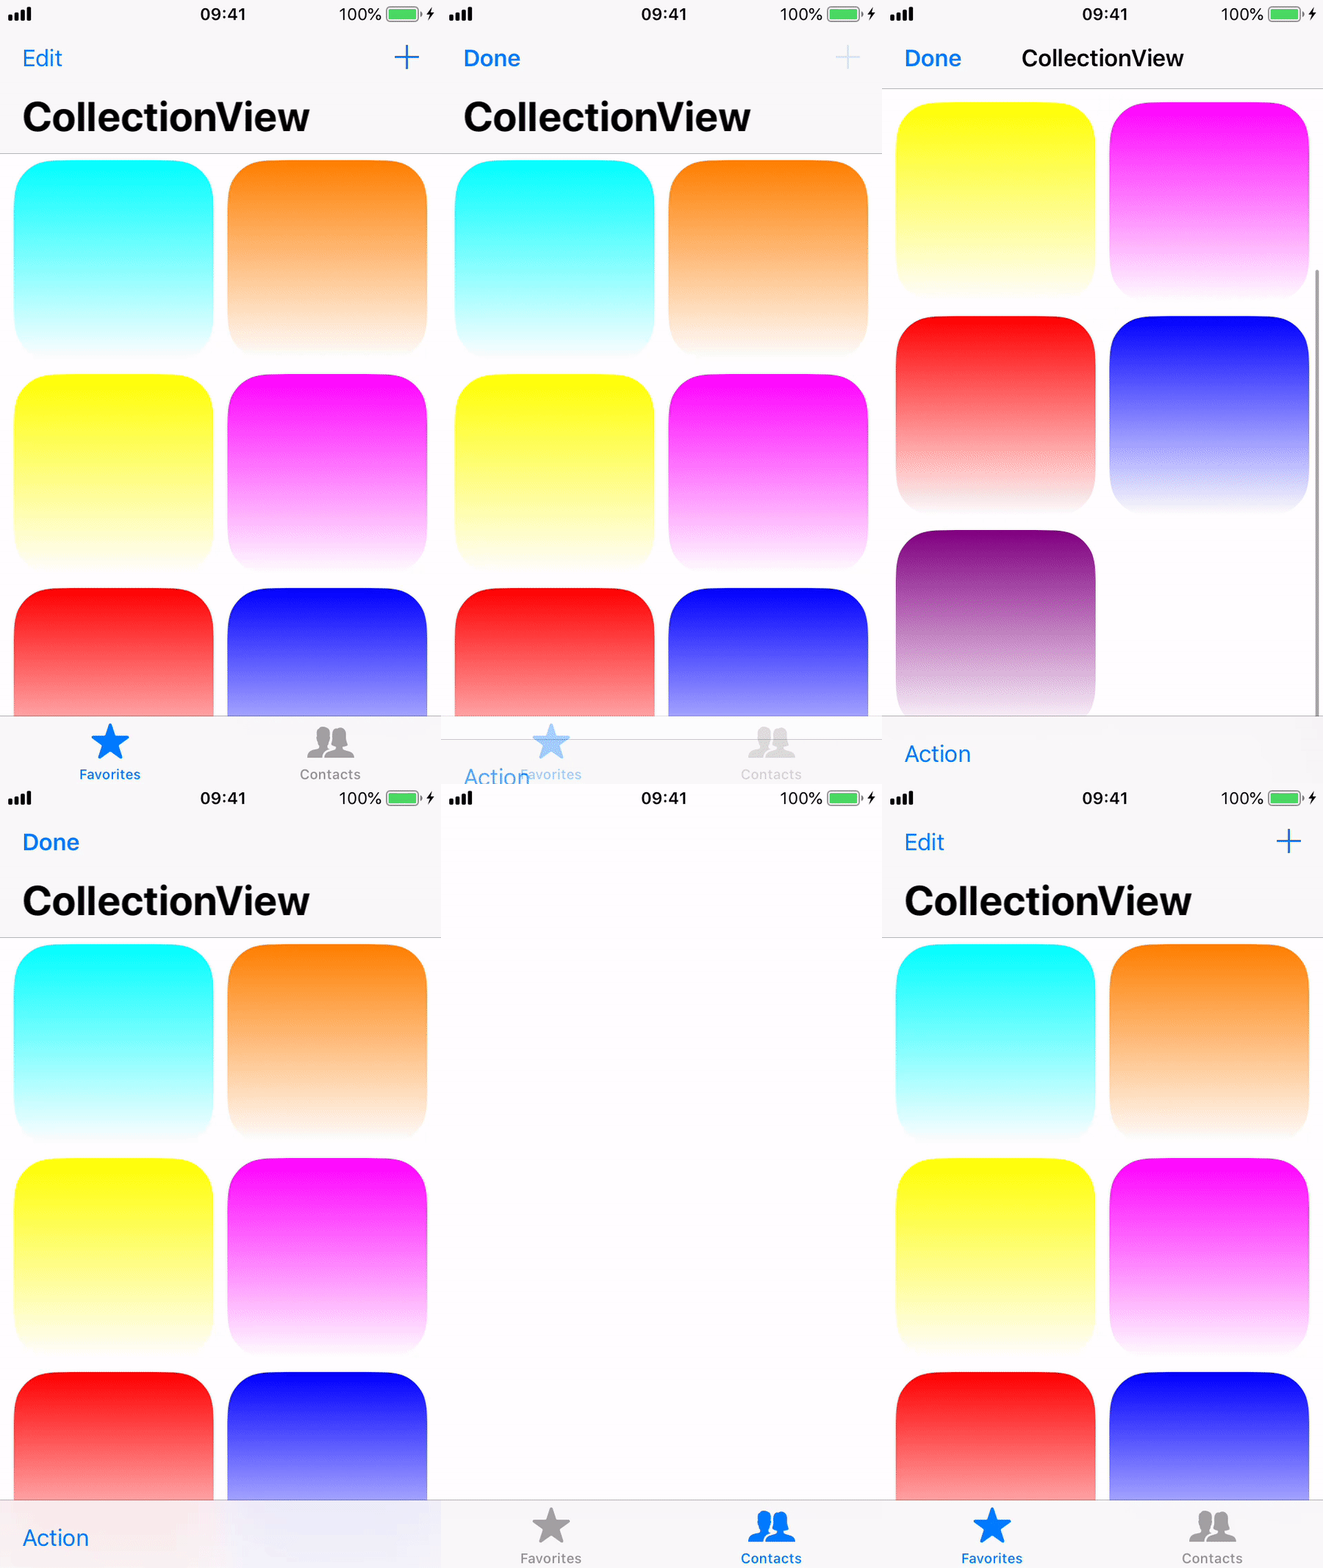
我將這個程式碼存放了在 Github 上,你可以去看看完整的程式碼。
我建議你自行去看看程式碼,因為我為了簡潔起見,故意在文章中忽略了一些重點。
這真的花了我一段時間來理解,因為不同 UIKit 元素的互動未能如我所想。
請記住,當你在 iOS 上以 Swift 開發更進階的 UI 互動功能時,應該跟從以下步驟:
- 先嘗試最簡單的解決方案;如果成功就很好了!
- 如果不成功,請嘗試其他方式,並繼續實驗!
- 過程可能會令人非常沮喪,但請不要放棄!
如果你喜歡這篇文章,歡迎留言或在 Twitter 上追踨我。
文章風格的靈感部份來自 Nathan Gitter 在 Medium 上的文章,我也有使用一些他的 程式碼。謝謝 Nathan 跟我們分享他的程式碼!


